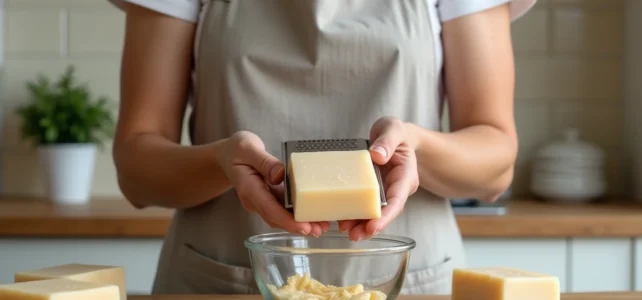
Melting soap to remold it requires neither laboratory equipment nor cosmetic experience. A few pieces of soap, water, a heat source, and a mold are sufficient. The technique is based on a remelting principle that allows you to recycle soap scraps or transform an entire bar into a personalized product, with the shape, scent, and texture of your choice.
Glycerin extracted from industrial soaps: the problem that remelting can fix
Most guides on melting soap start with the equipment. Before getting out the grater, there is a more useful question: what soap are you going to melt, and what condition is it in?
In industrial soaps, glycerin is often extracted and then sold separately. This natural byproduct of saponification, which retains moisture on the skin, is therefore missing from the bar of soap as it arrives on the shelf. The result: a soap that cleans but pulls and dries.
Remelting offers the opportunity to reintroduce what the industrial process has removed. By adding vegetable glycerin at the time of melting, you obtain a remolded soap that is more moisturizing and less brittle than a simple block remelted with just water. Knowing how to melt soap to remold it also involves this step of correcting the initial formula.
Cold-processed handmade soaps, on the other hand, retain their glycerin. Their remelting requires fewer additions, but the texture obtained after remolding may be slightly different from the original, more grainy if the heating was too rapid.
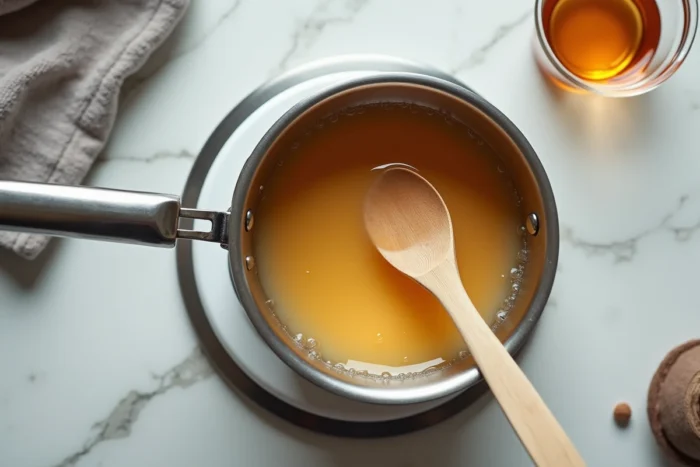
Bain-marie or microwave: what each method really does to the soap
Two techniques dominate the tutorials: the bain-marie and the microwave. They do not produce the same result, and the choice depends on the type of soap used.
The bain-marie, a slow but controlled method
Grated or chopped soap is placed in a heat-resistant container, which is itself placed in a pot of simmering water. The temperature rise is gradual, which limits the risk of overheating.
Stirring regularly until a homogeneous paste is obtained takes time, sometimes around twenty minutes depending on the quantity. Adding a little water at the start helps to fluidify the mass, but too much water results in a soft soap after unmolding.
The microwave, quick but risky
Soap pieces go into a suitable bowl and are then heated in short intervals at medium power. The melting is faster, but the heat distribution remains uneven.
Soap overheated in the microwave swells, forms bubbles, and can become rubbery once cooled. This method is better suited for “melt and pour” soap bases, designed to withstand this type of heating. For leftover classic soap, the bain-marie remains the most reliable technique.
Additions at the time of melting: what works and what ruins the result
Remelting is the moment when you can customize the soap. Not all additions are equal, and some compromise the soap’s setting in the mold.
- Essential oils should be added off the heat, just before molding. A few drops are sufficient. If poured into the mass while too hot, they evaporate and lose their scent.
- Shea butter or a similar vegetable butter, incorporated during melting, improves the softness of the remolded soap. Amateur soap-making communities recommend it to avoid overly drying soap.
- Vegetable glycerin, added in small amounts with possibly a bit of lemon zest or vitamin E, makes the recycled soap more flexible and less crumbly.
- Natural colorants (clay, turmeric, spirulina) mix well with the hot paste, but their hold varies depending on the pH of the base soap.
Conversely, adding milk or fruit purees complicates drying and promotes mold growth if the soap is not used quickly.
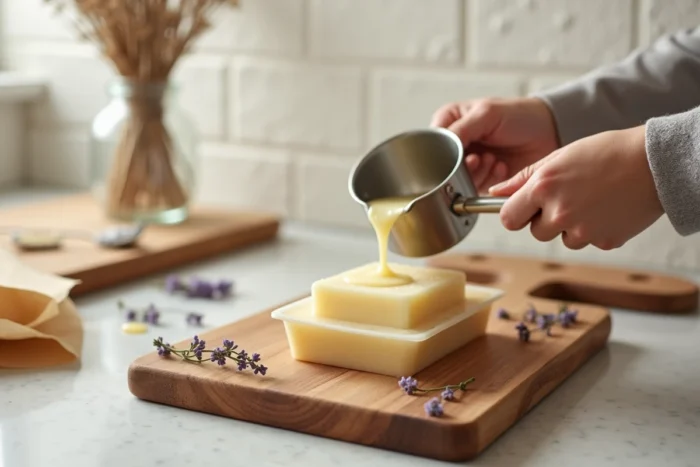
Molding and unmolding: the mistakes that produce unusable soap
The mold determines the shape, but also the quality of the drying. A silicone mold makes unmolding easier. Rigid plastic or metal molds require a light greasing beforehand (a thin layer of vegetable oil).
Pour the melted soap paste into the mold, gently tapping the bottom on the work surface. This action releases trapped air bubbles in the mass, which would create unsightly holes on the surface.
The drying time after unmolding determines the final hardness of the soap. A remolded soap unmolded after a few hours may seem solid, but it still contains a lot of water. Letting it air dry for several days in a dry and ventilated place produces a harder and more durable bar in the shower.
A common trap: filling the mold to the brim. The soap paste contracts slightly as it cools, but if the mold overflows during pouring, cleaning becomes tedious and the soap takes on an irregular shape.
Soap remelting and waste reduction: beyond DIY
Recycling soap scraps by remelting them fits into a logic that goes beyond creative leisure. A liquid soap can contain up to 95% water, which means significant transport weight and packaging volume for a small amount of cleansing material. Remolding solid soap pieces avoids this structural waste.
Circular economy initiatives now include the collection and remelting of used soaps, particularly in the hotel sector. The domestic approach follows the same logic: reducing plastic packaging and valuing every gram of soap rather than throwing away the last pieces that have become too small to use.
Remelting remains a simple technique, accessible without training. The result mainly depends on the quality of the starting soap and the care taken in heating. A mediocre base soap, even enriched with butters and glycerin, will not yield a product comparable to a cold-processed handmade soap. Remolding transforms and improves, it does not perform miracles.